HalfLine is a plugin for an Adobe Illustrator that bridges the gap between raster and vector images.
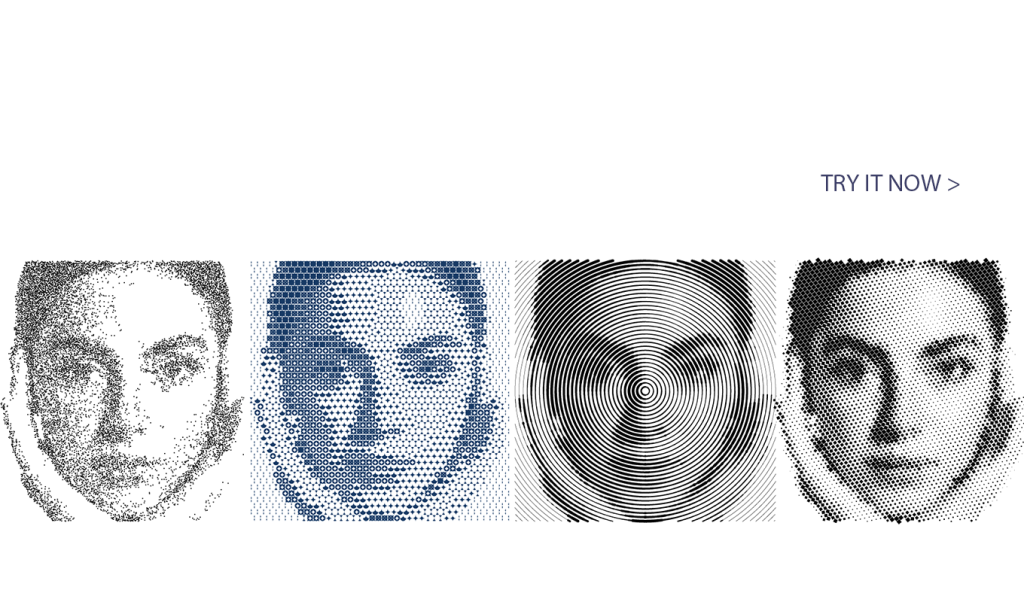
You will be able to create, instantly preview and modify:
1. Half Tone
2. Hatching (Intaglio, Etching)
3. Stippling
4. Mosaic effects.
All resulting effects are vector.
The rendering engine is over 300% faster than v1. Previous modes — Spots, Lines, and Mosaic — are updated with new controls and options. A new Stipple mode and a new Read Color option complete the picture. Compatible with Adobe Illustrator CC 2015 and later.
Can’t wait to see the art you will create!
Installing
Go to Adobe Exchange to download the extension and get the key.
If you download from Adobe, key will be send to your email registered with adobe, it will be from:
Adobe Exchange Support <mailer@fastspring.com> check your spam, check the email you used to reg with adobe.
- Install the extension. There are several ways, If Creative Cloud one fails I recommend AE Scripts installer.
- Restart Illustrator.
- Navigate to Illustrator > Window > Extensions > Half Line 2
- Enter the key in the field. The installer will need internet access.
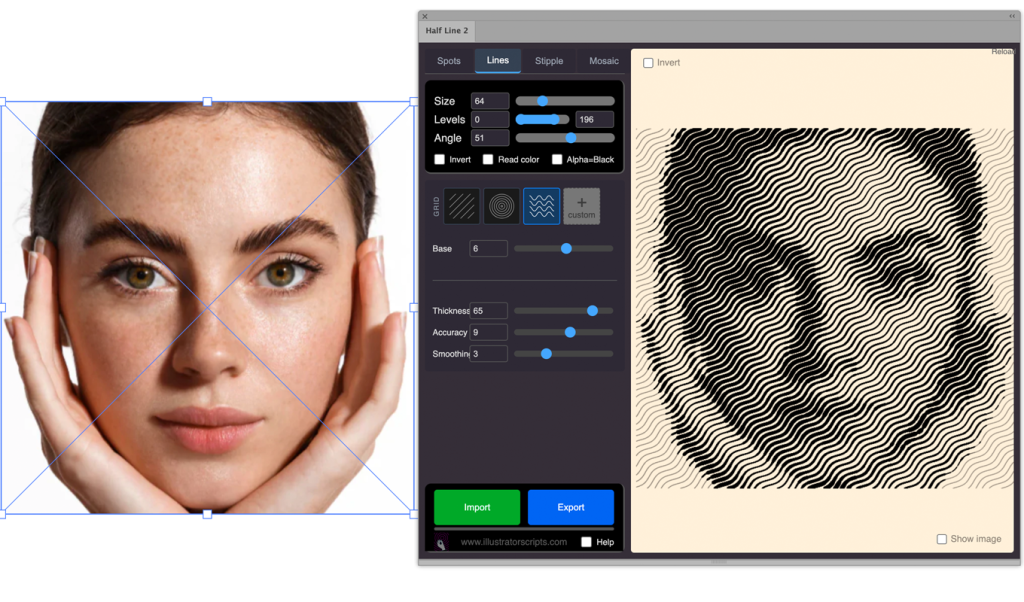
How It Works
Select a raster image (or any vector artwork) in Illustrator, then click Import in the panel. Half Line 2 analyses the selection and builds a live preview immediately. Adjust any setting — mode, density, shape, color — and the preview updates in real time. When you are happy with the result, click Export and the halftone artwork is placed directly onto your artboard as native Illustrator paths.
If you have difficulty installing using AEScripts installer, you can try other methods:
Adobe’s https://helpx.adobe.com/creative-cloud/kb/installingextensionsandaddons.html
ZXP Installer: https://zxpinstaller.com/
Anastasiy Extension Manager: https://install.anastasiy.com/
If, despite everything, you cannot install the extension using any of the methods above, please contact us at: https://www.scriptsfordesigners.com/request-a-script/
Global controls
These controls apply across all four modes.
Size
Sets the halftone grid density: the number of cells the image is divided into along its shorter axis. Lower values produce a coarse, graphic halftone; higher values produce fine detail.
Levels
Clips the input luma range before it drives element size. The left handle raises the black point; the right lowers the white point. Narrowing the range increases apparent contrast in the output. Adjusts in real time.
Angle
Rotates the entire halftone grid. A 45° angle produces the classic diamond screen pattern. Has no effect when a custom grid is active.
Invert
Reverses the luma interpretation — dark areas produce small elements, bright areas produce large ones. Useful for white-ink-on-dark-paper effects.
Read Color (new)
Samples the original image colour at each cell centre and applies it as a fill to every generated element. Works in all four modes. When unchecked, all elements are rendered in black.
Alpha = Black
Controls how transparent pixels in a PNG are treated. Enable this when importing white artwork on a transparent background — it composites transparent areas against black so they read as dark rather than bright.
Re-import after changing this setting!
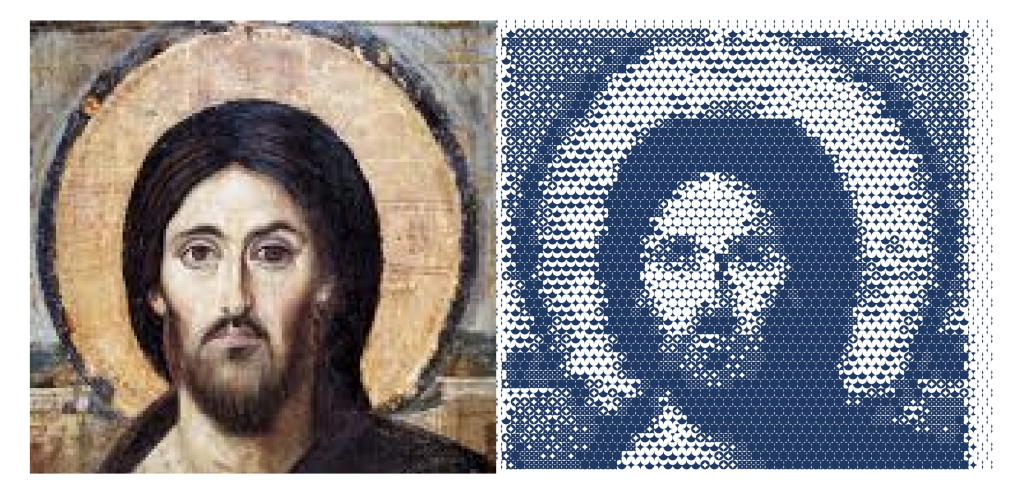
Spots (Half Tone)
Classic halftone dots. Each grid cell gets one dot whose size is proportional to local lightness — dark areas produce large dots, bright areas produce small ones.
Shape
- Circle — the traditional halftone dot
- Square — crisp corners, blocky and graphic
- Open Circle — unfilled rings; stroke width grows with luma for a lighter, airier result
- Custom — drag any vector artwork onto the slot to use it as the dot shape.
Grid
- Regular — uniform rectangular grid, the most neutral screen
- Alternating — every other row offset by half a cell, creating a honeycomb arrangement that reads as less mechanical
- Custom — load a a custom vector pattern. Each path item will get scale/rotation/color adjusted by underlying image/artwork!
Scale
Scales the maximum dot size relative to the cell. At 100 the largest dot fills the cell exactly. At 200 dots overlap adjacent cells, creating solid fields in dark areas.
Rotation
Rotates each dot around its own centre by an amount proportional to local luma. Most visible with square or asymmetric custom shapes.
X Offset / Y Offset
Shifts each dot horizontally or vertically in proportion to local luma, creating a directional drift effect. Combine both for diagonal displacement.
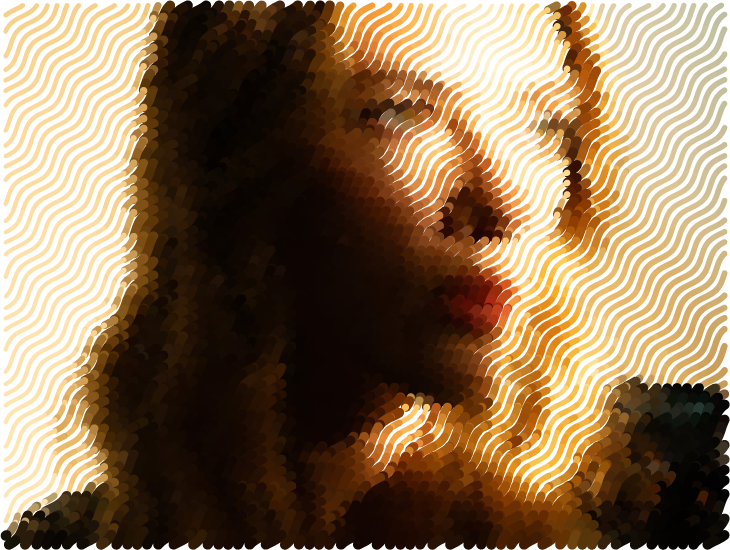
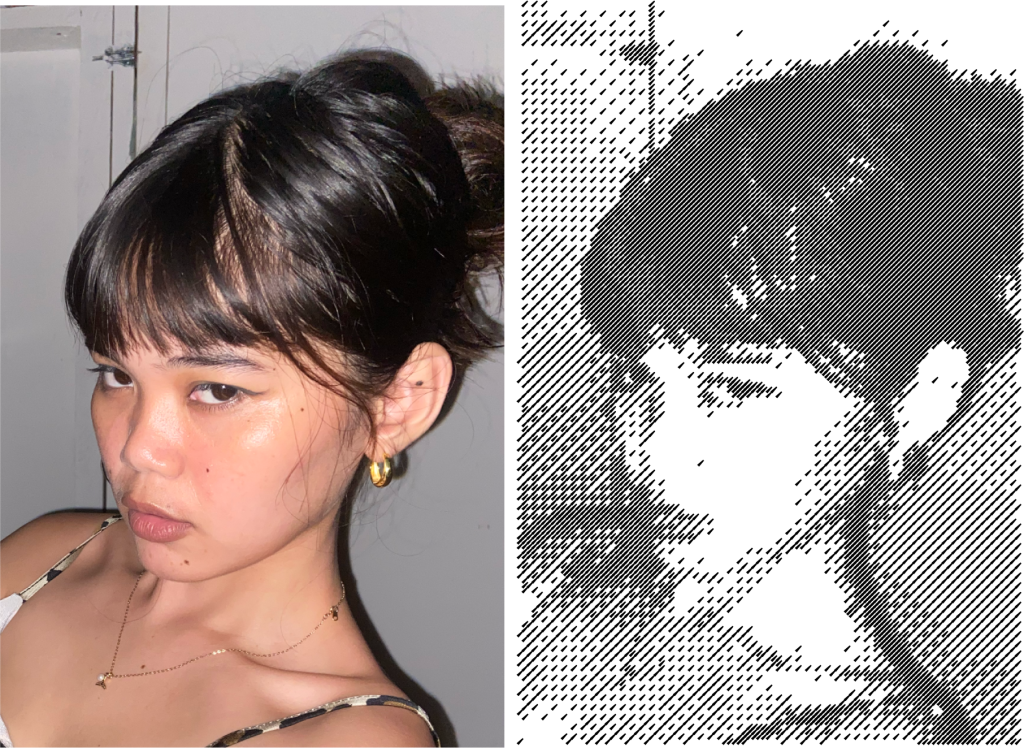
Lines
Halftone lines. Intaglio. Each line’s width varies continuously along its path according to local luma — producing woodcut, engraving, or banknote aesthetics.
Grid
- Parallel — horizontal stripes across the image; rotate with the Angle slider for diagonal or cross-hatch effects
- Radial — concentric rings from the image centre; produces a radar or target aesthetic
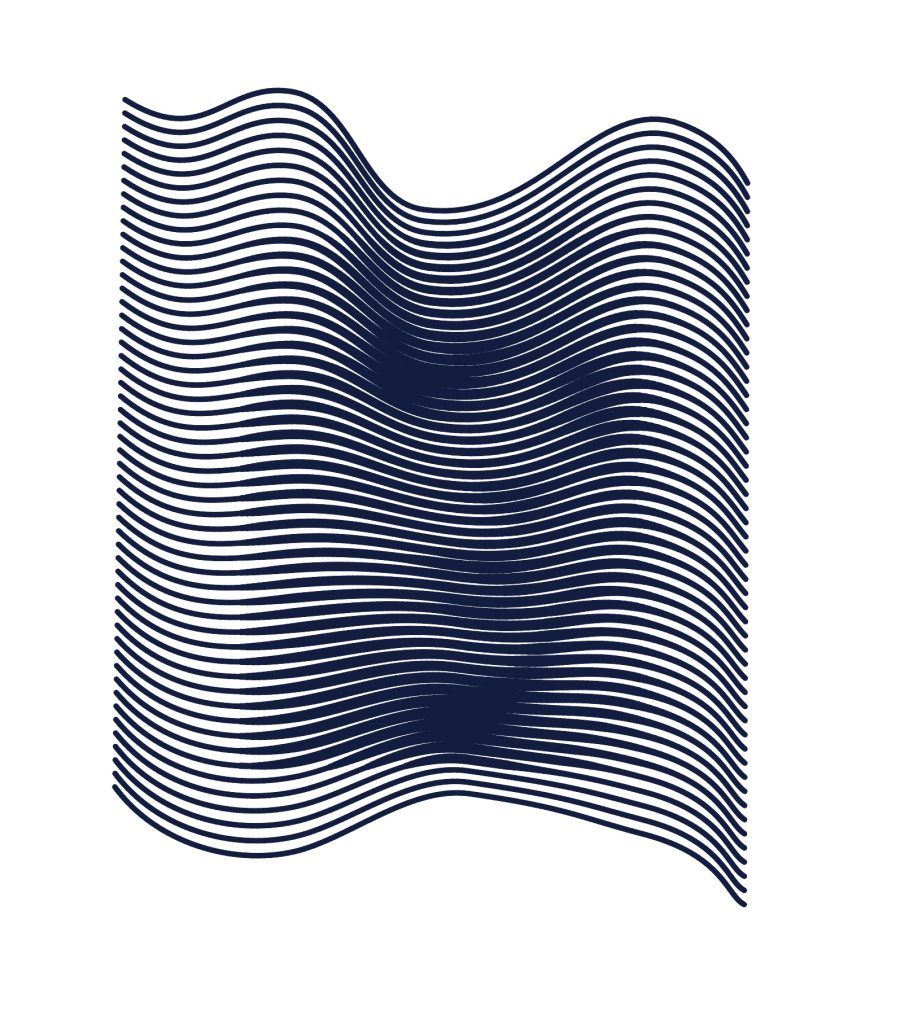
- Sine — lines with a sinusoidal wave path; the baseline weaves while width still varies with luma
- Custom — experiment with your own path items, artwork from Illustrator.
Base
Sets a minimum line width drawn regardless of luma. Positive values ensure even bright areas carry a visible line. Negative values raise the threshold before any line appears. Formula: width = Base + Thickness × luma.
Thickness
Controls how strongly luma drives the width. Higher values increase contrast between thin and thick lines.
Accuracy
Number of sample points per cell used to trace each line. Higher values follow luma gradients more precisely at the cost of more nodes and slower processing. Values of 1–3 are sufficient for most images.
Smoothing
Applies curve smoothing to the line paths after sampling. At 0 lines are straight polylines; higher values produce flowing, rounded strokes. Works together with accuracy.
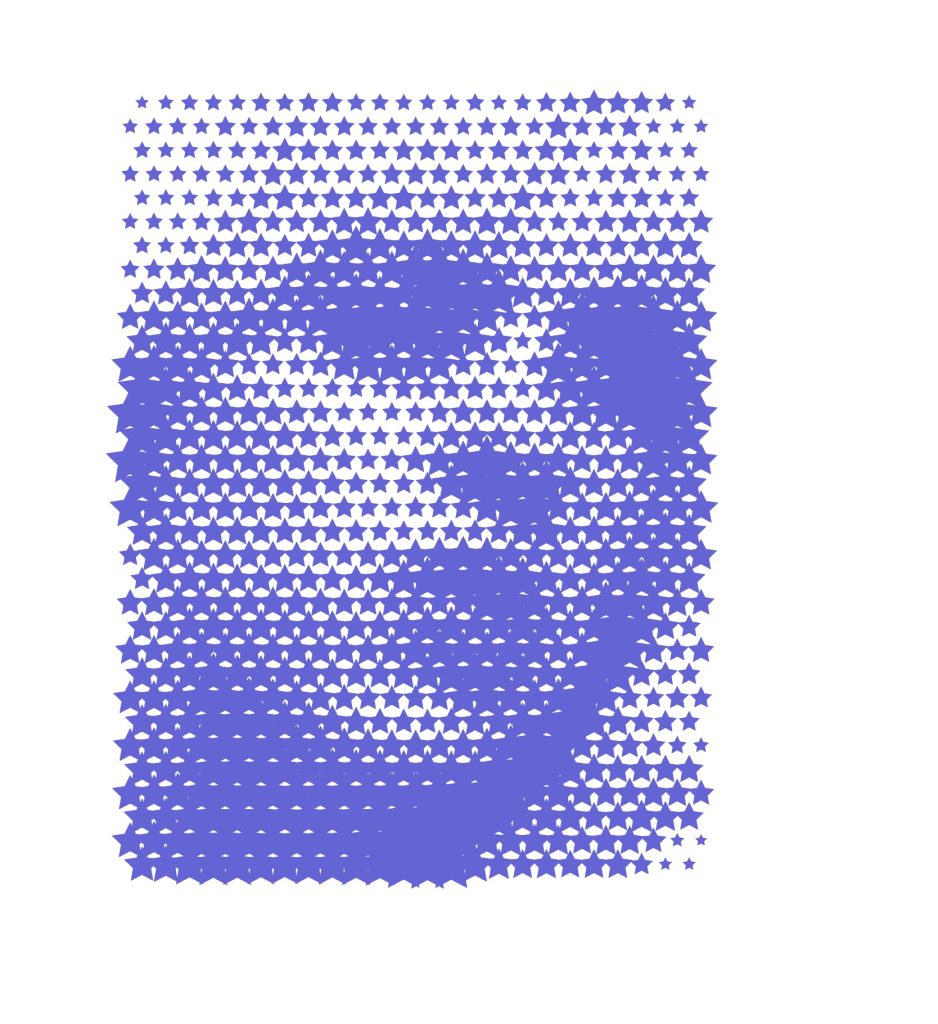
Stipple (new)
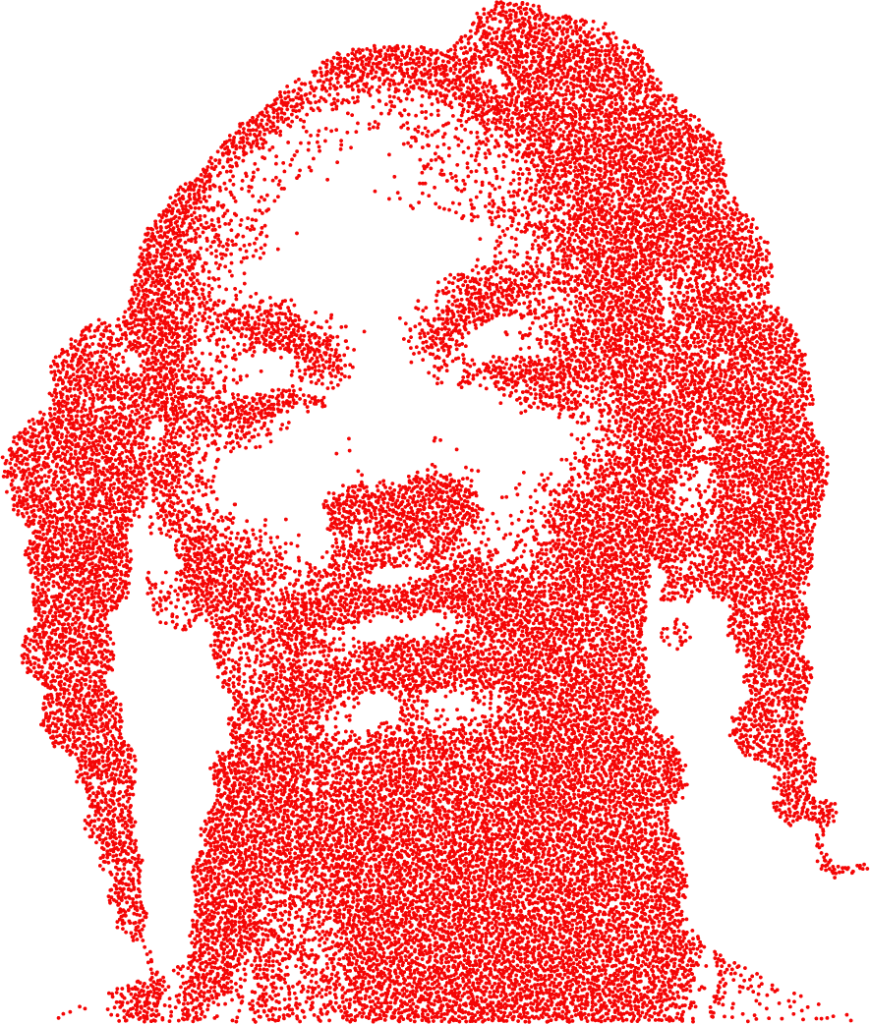
Stipple — or stochastic halftone — places dots whose density encodes luma rather than size. Dark areas receive more dots, bright areas fewer. The result reads as hand-drawn pointillism or traditional pen stippling.
Type
- Random Scatter — dots placed at random positions with luma-weighted probability; organic, hand-drawn look with no visible grid
- Jitter Grid — dots on a regular grid with each position nudged by a random offset; balanced between organic and structured
- Ordered Dither — Bayer 4×4 matrix; completely deterministic and repeating; structured, retro, reminiscent of early digital printing
Ordered Dither stipple with Custom Shape
Dot Shape
Drag any vector artwork onto the slot to use as the stipple dot. Upload multiple shapes — they cycle or are selected randomly across all placed dots.
Random Dot
When enabled, selects a random shape from the dot library for each placed dot instead of cycling in order.
Scale
Uniformly scales the physical size of every placed dot. Density (how many dots appear and where) is driven by luma; scale only changes how large each dot is.
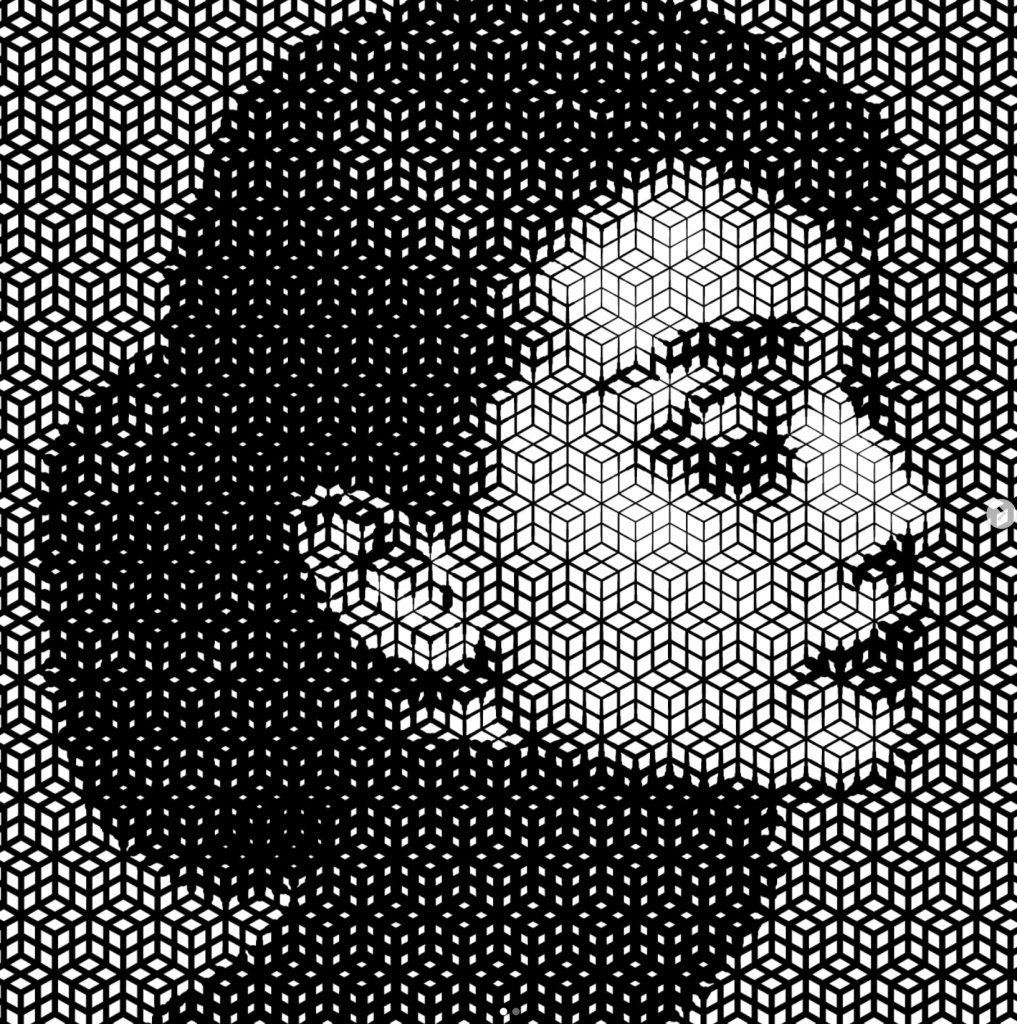
Mosaic
Converts the image into a vector tile mosaic. Luma at each cell selects one tile from a user-supplied library — the darkest luma maps to the first tile, the brightest to the last.
Mosaic Tiles
Add a set of vector shapes ranging from visually heavy to light. The more tiles you supply, the richer the tonal range.
Tip: Add tiles that vary in fill density or complexity rather than just size — a fully filled square for dark areas and an empty outline for bright areas produces striking results.
Scale
Scales every placed tile uniformly. At 100 each tile fills its cell exactly; at 200 tiles overlap.
More tips
The controls are non-destructive as they don’t modify your source image.
High density values produce fine detail but increase processing time and node count. Start low and work up.
Custom grids for both Spots and Lines unlock the most expressive results — try drawing paths, concentric spirals, or radial fans.
Read Color + Stipple is particularly effective for chromatic pointillist effects on painted or photographic source material.
Inverted + Light vectors produces a halftone that reads well reversed out on dark backgrounds.